Cameras, film, and processing
Cameras
I used a bunch of different things this summer while making my
pictures and my Web pages. Pretty much all the ``casual'' photography
was shot with my sister's Pentax IQZoom XL (35-70mm point-and-shoot),
which was very nice because it's light. I still haven't figured out
all the weird iconic settings on the thing. All my ``art''
photography was done with my Ricoh XR-P, a Pentax-compatible
manual-focus but auto-everything-else camera which I got in 1987 or
so. I regularly switch between a bunch of lenses (which makes my
camera bag fairly heavy, thus the point-and-shoot is a godsend):
- Sigma 35-70mm f2.8-4.0 - it came with the camera, and it still seems
to work okay, despite all the abuse I've given it, getting caught in
the rain, getting sandy on the beach, etc.
- I also have a set of macro rings which I found in my high school
darkroom and happen to fit my zoom lens. With the #3
macro ring, I can take a picture of something a foot across.
- Pentax 50mm f1.7 - ``borrowed'' from my parents when they ditched
their old clunky Pentax manual body for a point-and-shoot. It's
great when there's no light, but that's about it.
- Hoya 200mm f3.5 - a wonderful lens that I got used in a camera shop
for $40. It's perfectly sharp and great for shooting wildlife, sports,
or tourists.
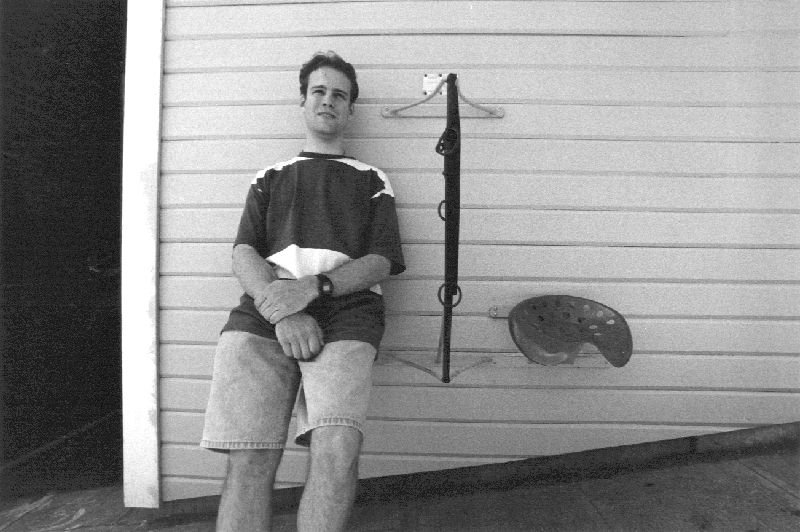
- Tokina 17mm super-wide-angle f3.5 - easily my favorite lens. It cost
me maybe $200 new, and currently costs a good deal more than that. At
f16, it gets depth of field from 15 inches to infinity. Look at these
pictures of Michael Herf
or Chris Liles
to see how useful it is in tight situations where you can't
necessarily stand as far back as you'd like.
Film
The color pictures were shot on Kodak Royal Gold 200,
The black and white stuff was all over the place. Believe it or not,
most of it was done with Kodak T-Max 3200, mainly because somebody gave
me a pile of rolls for free. I also shot a roll of T-Max 400, my mainstay
for years, and a roll of Tri-X, just for grins. At the resolutions
here, you can't really see the difference at all. On my handmade 8x10 prints,
you can see the grain of the T-Max 3200 much stronger than the T-Max 400.
I used the Tri-X for my trip home, so the only prints I have from it
were made by my supermarket's lab. I hope to find a local darkroom so I can
try making real prints from it and compare those to the T-Max.
Printing
What about printing? I had all the film, color and black and white,
developed by my supermarket. For the color prints, that was the end
of the story. For the black and white prints, I rented a weekend in
Seattle's Photographic Center Northwest, which has one of the
best darkrooms I've ever worked in. It cost $7.50 per hour plus $0.70
per 8x10 inch fiber print, which I was doing on Ilford Multigrade FB,
purchased separately.
It might seem pricey, but they had every gadget in the universe: 4x5
Berkey Omega enlargers with Schneider lenses, a compressed air hose
at every enlarger, a wonderful vertical fiber print washer, and plenty
of wire mesh screens for drying the prints. My original prints have
about a one inch white border on the short side and more on the long
side. I cropped as closely to the original negative as possible while
avoiding a black edge around the pictures. Yeah, black edges are a trendy
thing to do, but I find them distracting.
Digitizing
I digitized some of these pictures with a
Microtek II scanner we had at Microsoft, but it was painfully slow,
and Photoshop 3.0 is flakey on Windows (we didn't have the 3.0.4 bug-fix
release yet). Most of the pictures here were digitized with the
LaCie III scanner we have at Princeton. It's much faster, but the
blue channel isn't properly aligned with red and green (sigh).
This makes the color pictures slightly fuzzy, but doesn't seem to
effect black and white. The pictures were acquired into Photoshop 3.0
on a PowerMac. After that...
- I cropped the pictures as closely to their borders as possible. You can't
be exact because the pictures are rarely perfectly registered horizontally
and vertically.
- I used Adjust Levels to correct the contrast and brightness.
- Our LaCie scanner also seems to be slightly out of
focus, which can be easily fixed with an Unsharp Mask.
- I removed dust spots with the rubber stamp in ``clone
brush (aligned)'' mode, which is wonderful because it preserves the
high-frequency texture near the dust, which would be lost if I used
the airbrush.
- For my 8x10 prints, I scanned them at about twice their final
resolution, did all the enhancements, then reduced them. Since
Adjust Levels tends to result in less than 256 unique grey
values, reducing the image size brings them all back again because it
averages neighboring pixels together. For the pictures where I digitized
the 4x6 prints from the supermarket, I didn't bother with the
rescaling theatrics.
Of course, Photoshop makes it very easy to modify the pictures instead
of just spotting them for dust. I mostly resisted the temptation,
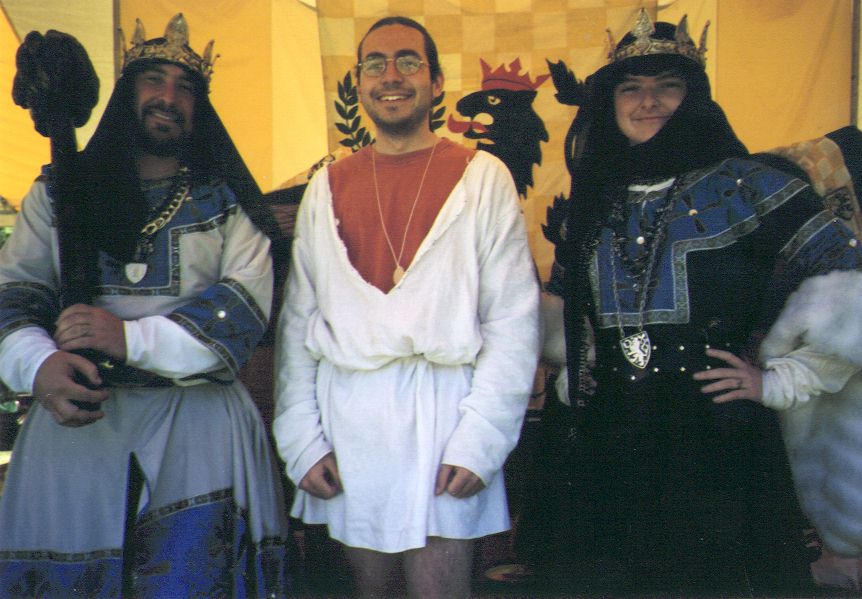
except in one picture where I removed a food stain from my tunic. Can you tell where it was?
Gamma Correction
This is probably the trickiest issue in producing images for the Web.
Computers from Silicon Graphics have gamma correction built into their
hardware. This means that alternate black and white lines have the
same brightness as 50% pure grey. It also means that all your Web pictures
look much brighter than everybody else will see them. I've tried to
make my images look as close to correct as I can when gamma = 1.0.
Even then, it's impossible to make it correct for everybody.
The real solution is likely to be the upcoming PNG (portable network
graphics) format, which has a notion of gamma correction built in.
According to the Dr.Dobbs article, you can specify the desired gamma
correction for the image, and if the display is something other than
the desired value, the Web browser would do the correction. Until
we've got that, we'll just have to deal with what we've got.
Dan Wallach, CS Department, Rice University
Last modified: Tue Oct 27 16:45:43 CST 1998